Hand blocking is a well-known term in the hat making industry, and is the preferred method of production for many traditional hat makers still around today. Hand-blocked hats tend to come at a higher cost, and it’s not hard to understand why.
In order to get into the details of hand blocking, we need to first become familiar with the process through which the majority of hats today are made. When made in bulk by larger companies, hats are often produced by a machine. The material is shaped with an aluminium mould – pressure, heat, and moisture will be applied throughout the process to allow the material to retain the final shape. This automated method allows hats to be made at a much faster rate and more affordable prices.
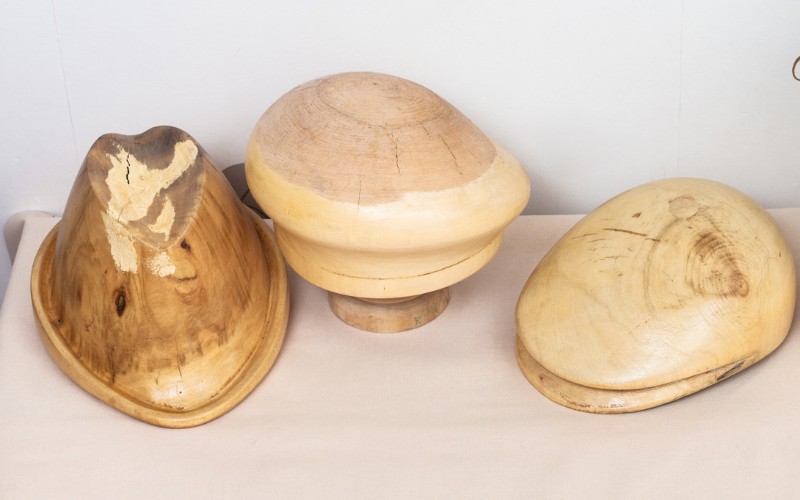
Hand blocking is an understandably far more labour intensive process, consequently leading to a pricier final product. When done by skilled hat makers, pieces that are produced in this way tend to be extremely high in quality. As the name itself suggests, hand blocking is a manual process, in which the hat is moulded through a hand-carved wooden mould. Let’s check out some of the steps in the hand-blocking process:
- A fully saturated piece of material will be placed on top of the wooden block, then hand-stretched and moulded by the hat maker. Moisture is used constantly throughout this step, and the wooden block remains inside the soon-to-be hat for the remaining steps.
- A string will then be tightly placed around the crown of the hat and pulled down, eliminating any and all air bubbled and wrinkled that may still be present on the material. A tool that presses down on the string and begins to form the main fold (the edge between the crown and the brim) may be used here.
- At this stage, a wet sponge is used to saturate the brim of the hat further and get it ready for the next steps.
- Next, a steaming hot iron is pressed on the brim of the hat, eliminating any and all remaining wrinkles in this area.
- Now, small cloths are placed around the recently ironed brim, and weights are placed on top to reinforce the smooth and straight surface that has just been worked.
- Finally, after a cooling process, the edge of the brim is cut and adjusted to eliminate any imperfections that might exist from the fabric or from the pre-cut of the hat.
Final details are included and the hat is off to its new owner!
It’s important to note that each hat maker will inevitably contribute their own personal style, methods, and preferences when it comes to hand blocking – this is partly what makes this personal process so special in the hat industry! Even specific steps may be interchanged, eliminated, or replaced with other techniques.
While a lot of the fundamental steps and tools may remain the same, there is an undeniable, unique flair to each hat maker’s work.