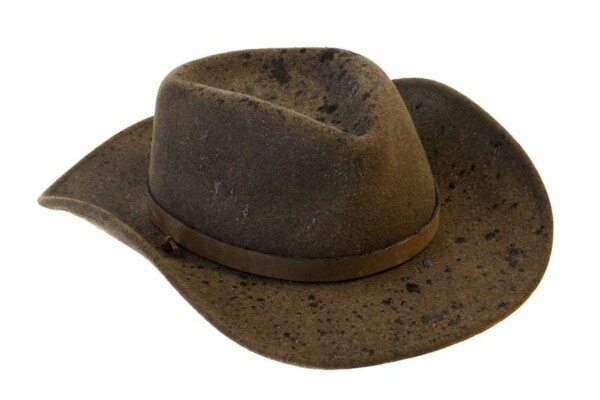
Applying wax to hat is a sure fire way to make sure it is water and wind resistant. Adding a layer of oil to protect cloth from the elements is a time tested strategy. These tips are for anyone looking to add wax to your own hat.
1. Choose the best wax product for your hat
Fjallraven, well known for their outdoor products and hats, offer a good option easily available on Amazon. Their Greenland Wax product is made from paraffin and beeswax and comes in a bar making it easy to regularly apply. The wax does not have a strong odour.

Another time tested and popular option is the Otter Wax bar, also easily found on Amazon, which benefits from not containing petroleum products and is made from beeswax and plant oils. Both these products are ideal for protecting your hat from water and wind.

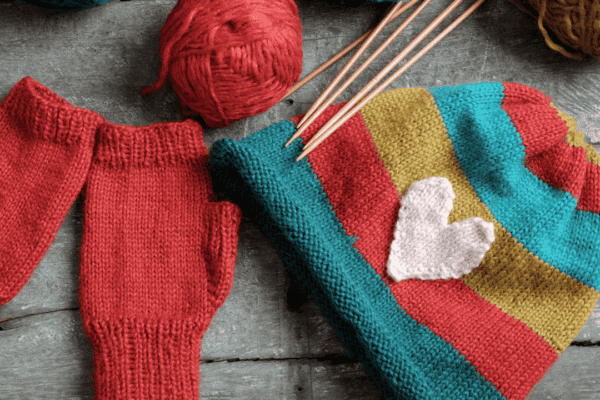
2. Test how the fabric of the hat will react to the wax
Before going all in applying the wax you will want to test an area. While in theory wax can be applied to the majority of fabrics it can alter the appearance of certain fabrics such as wool to a greater extent. Due to its strong course nature canvas is the most common fabric to wax. It is also used for other outdoor products such as tents for exactly the same reasons.
3. Clean and dry hat before applying wax
Since wax will clog the pores of your hat it important that the hat has been fully prepped. Applying wax to a dirty hat will lock in the dirt and make it very difficult to clean. The wax will offer a high level of water resistance but also will make cleaning the hat more difficult.
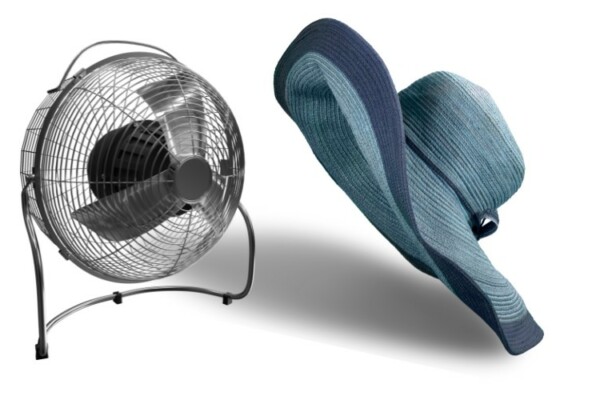
4. Warm the wax and hat before applying
Depending on the exact wax formula you are using they will become more viscous at colder temperatures. Warming the wax slightly will make application far easier. Warming the hat may also help with the application process by helping the material absorb the oil.
5. Lightly rub the wax bar on all areas that need protection
After making sure you have tested an area you can simply rub the wax bar on all areas of the hat that need protection from the elements. Start by rubbing the bar lightly and evenly across the surface. Only apply more pressure if the wax is not taking to the fabric.
6. Use fingers or a bonding tool to ensure wax has bonded to material
After applying the layer of wax with the bar you will want to ensure that the wax has fully bonded by rubbing the wax in with your fingers or you can use a bonding tool such as this one from Otter Wax (Amazon). This is particularly useful for spreading and removing excess wax.

7. Leave the wax for 24 hours after applying wax
This is an important step to allow the wax time to fully absorb into the fabric. Make sure to leave the hat in a dry warm place during this time. Once done your hat should be fully protected and ready to face the elements! It will be necessary to periodically apply more wax to maintain the protection.

Contents
- 1. Choose the best wax product for your hat
- 2. Test how the fabric of the hat will react to the wax
- 3. Clean and dry hat before applying wax
- 4. Warm the wax and hat before applying
- 5. Lightly rub the wax bar on all areas that need protection
- 6. Use fingers or a bonding tool to ensure wax has bonded to material
- 7. Leave the wax for 24 hours after applying wax