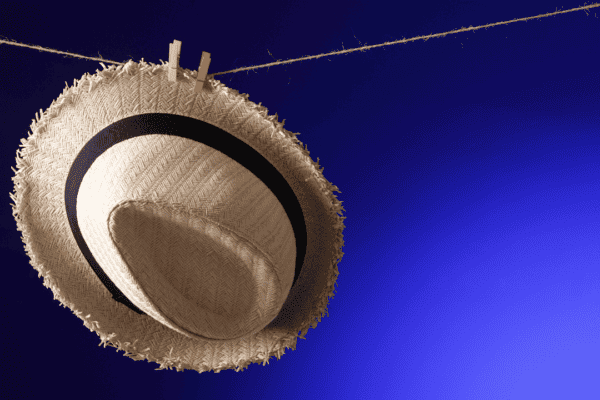
A well-loved hat goes on a lot of adventures. Whether it’s a hat that’s been passed down through generations of a family, a hat that’s traveled around the world with you, or just a hat that helps you look your Sunday best, there’s bound to be some wear and tear after years of use.
Some people have no problem just buying a new hat, but if this hat is sentimental, you’ll want to go to lengths to repair it instead of replacing it. Here are a few top tips that will help you fix a frayed hat brim.
Put your home economics skills to good use.
If the fraying has occurred between the brim and the crown, you can always do a classic patching with a needle and matching thread. You’ll want to patch the fraying from the inside of the hat to make it look as seamless as possible. There are a few different types of stitches you can use that are simple if you’re not a self proclaimed seamstress. For a demonstration of different patching techniques check out this video on mending garments.
Repair frayed spots with craft glue.
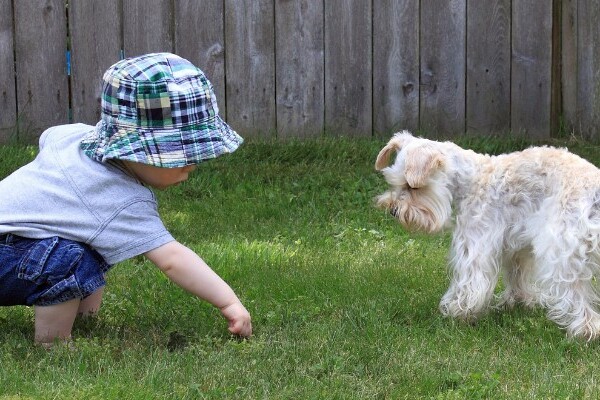
Baseball caps often see fraying on the edges of their brims. It comes with the territory and can actually make a hat look vintage and well-worn in a good way. However, there does come a point where the frays need to be addressed in order to continue the longevity of the hat.
In order to patch these kinds of frays, start by trimming off any really long fibers that may have developed with scissors. From there, singe down the rest of the fibers with a lighter. Make sure you hold the hat over a sink or fireproof bowel to cut down on the chances of a fire related accident. Once you’ve gotten the stray fibers pretty short, take craft glue and seal the area. If you’re hoping to prevent other spots from fraying, it’s not a bad idea to put a thin layer of glue around the edge of the entire brim.
Change the material on the bill.
If you’re particularly crafty, you can actually deconstruct your baseball hat, remove the brim entirely, and ditch the frayed fabric. From there, you can pick a new, durable fabric to cover the brim using sturdy glue, and then reattach the bill to your hat. This is kind of an involved process and should be used as a last resort unless you have a knack for customizing clothing articles.
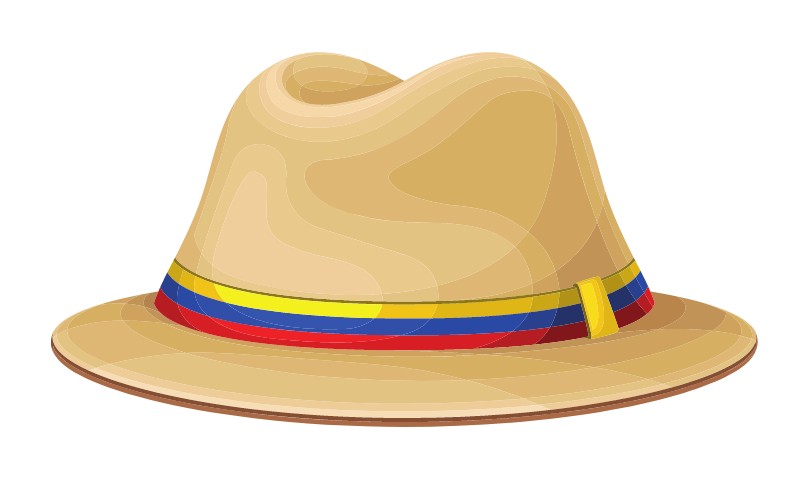
Take your hat to a milliner.
Some hats are too special to risk damaging during an attempted at-home hat repair. In those cases, you’ll want to take your hat to a professional. Talk to a local milliner or reach out to a milliner online who specializes in hat repair. They’ll be able to assess the state of your frayed brim and fix it accordingly. Sure, it may cost money, but sometimes it’s best to leave important jobs to a professional in order to get the results you want.